The advantages of a feed alley coating at a glance
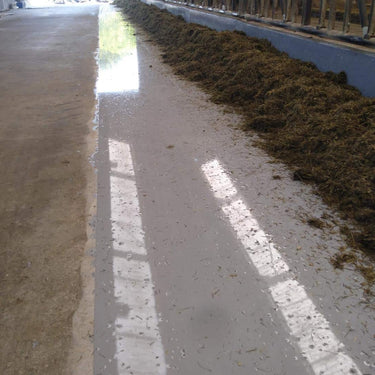
A feed alley coating has become an essential component of modern livestock farming. These coatings offer a wide range of benefits for the feed alley, where livestock are fed daily. From improved hygiene to increased efficiency and ease of work, feed alley coatings have a positive impact on overall farm operations. Some of the key advantages of these coatings are outlined below.
First, feed alley coatings provide improved hygienic conditions for the livestock. Through the use of a feed alley coating, bacteria, fungi, and other microorganisms cannot adhere to the surface. This reduces the risk of diseases and infections among the livestock, thereby promoting the health and well-being of the animals. Furthermore, the smooth yet non-slip coating facilitates cleaning and maintenance of the feed alley. The feed alley is very easy to sweep or clean, resulting in a higher level of hygiene and quick maintenance.
Another advantage of feed alley coatings is their increased durability and wear resistance. The coatings are designed to withstand the intensive use of vehicles, robots, carts, and feed wagons that drive over the feed alley daily. They are resistant to scratches, impact, and acids or chemical substances that may be present in feed or cleaning agents. This significantly extends the lifespan of the feed alley.
Applying a feed alley coating yourself can be very simple.
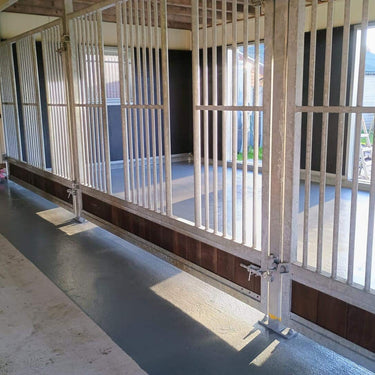
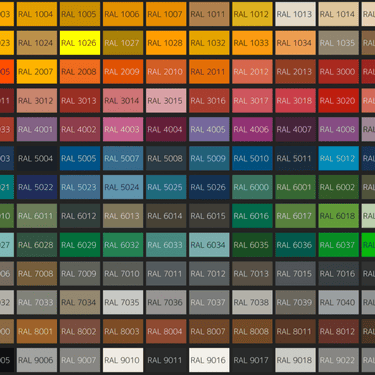
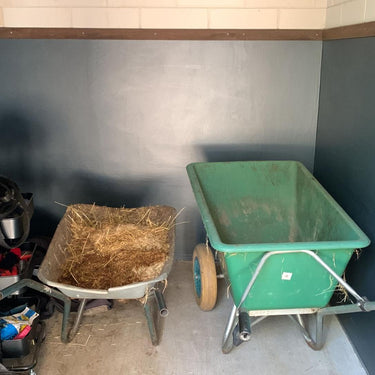
Farmcoat Leveling Coating is available in various colors and finishes, from very smooth to highly non-slip. Agricultural Leveling Coating is used to level, restore, or renovate worn-out feed alleys. Additionally, it is also applied to protect new feed alleys against further wear.
1. Pre-treatment

2. Sanding
Sand the substrate with a concrete grinder or concrete sanding machine with diamond heads. This ensures long-term adhesion. For significantly worn substrates, sanding also ensures that unevenness is smoothed out, brittle/loose pieces are removed, and you ultimately need less coating. Sanding is therefore also cost-effective!
New power-troweled floors must also be sanded, as they are finished so smooth/dense that the coating cannot adhere properly. New concrete substrates that have not been power-troweled and already have a rough surface do not need to be sanded (see also the instruction video on the product page). Rinse the floor again after sanding to remove all dust.

3. Cleaning
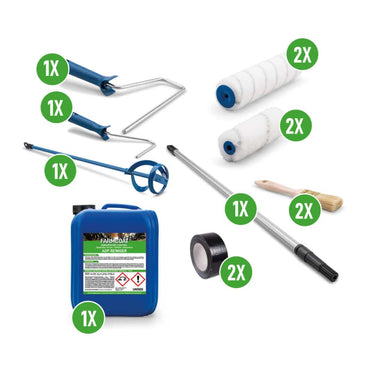
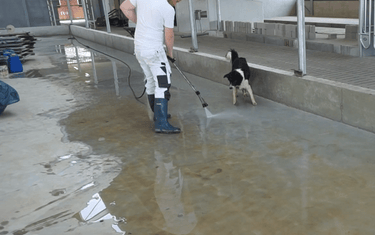
Apply Farmcoat ADP Cleaner diluted with water (1 to 10) to the floor using a watering can with a spray head. Brush it in and let it soak into the floor for a maximum of 10 minutes. After 10 minutes, spray the substrate clean with tap water. The ADP Cleaner is an acidic cleaner that ensures all microscopic dirt (invisible to the naked eye) is dissolved. In addition, the ADP Cleaner ensures that the pores of the concrete open up. This allows the coating to adhere even better!
4. Coating
Ensure the substrate is completely dry before you start coating. This can be done by letting it dry overnight or by forcing it using a gas burner. Tape off the substrate where necessary for a clean dividing line (relevant for feed alleys).
Pre-mix the coating (Part A) before use, add the B component (hardener), and mix vigorously with the included mixing paddle on a drill for 2 minutes. Also mix well along the edges and bottom of the can.

Pour the coating onto the floor in sections within 30 minutes and spread it over the floor with a roller. Use the roller to spread/push the thick layer forward. Use the brush for edges/corners. A squeegee can also be used if desired. Note: stick to the processing time. Once the processing time has passed, the curing process of the products begins, and the products become difficult to work with. Store the coating in a cool place (< 20°C) before use. Do not leave in the sun.
Remove masking tape after approx. 2 hours of drying. If this is not possible, do it the next day.
4. Drying
After 16 hours of drying (at 20°C), you can put the floor back into use.